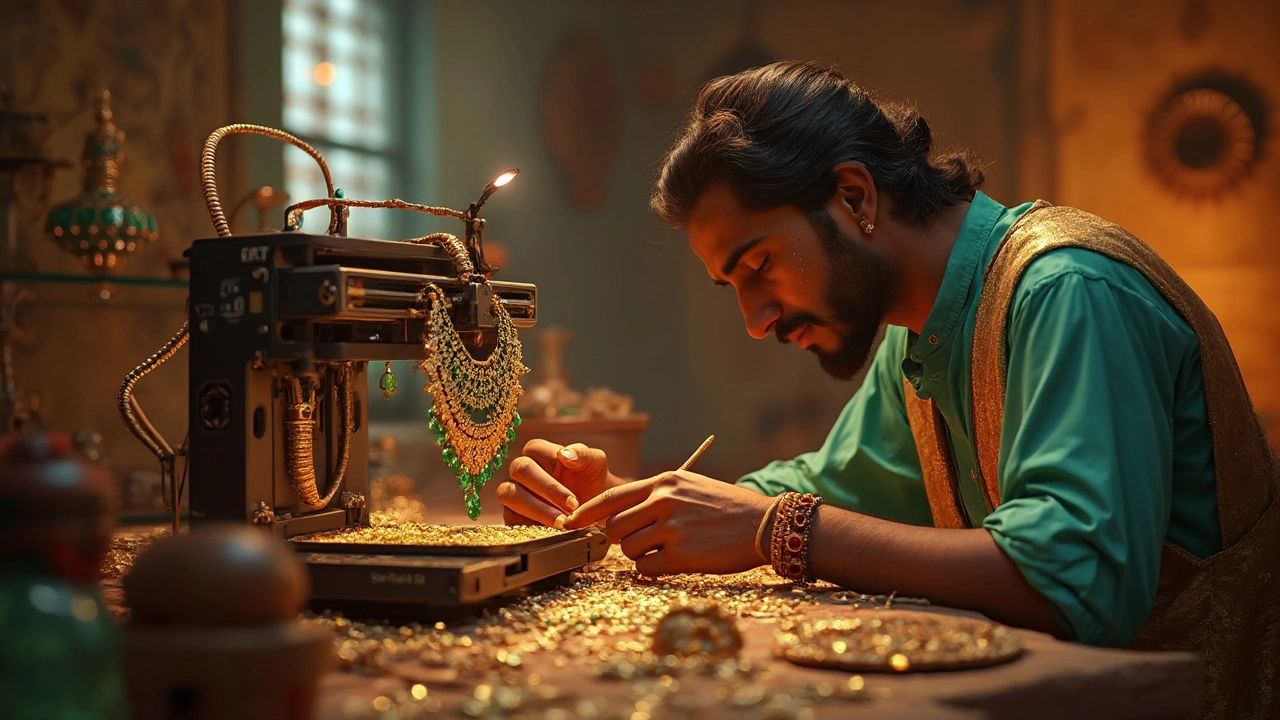
Imagine designing your own jewelry, clicking a button, and watching as a 3D printer brings your vision to life. Sounds futuristic, right? Well, it's very much a reality today. Creating jewelry with a 3D printer is not just possible but is also a thrilling way to merge art and technology.
Before you jump in, you'll need a few basics. First up is a reliable 3D printer that suits your needs. While some are designed for detailed work, others might be more general-purpose. Then there's the choice of materials—PLA, ABS, or even metals if you're feeling ambitious. Each one can significantly change the final look of your jewelry.
Now, about the design. You don't need to be a pro. With user-friendly software available, you can start with simple shapes and gradually build up to more complex designs. Want to create a personalized pendant or a quirky pair of earrings? The possibilities are as broad as your imagination.
- The Magic Behind 3D Printing
- Materials You Need
- Getting Started with Your Designs
- Tips for Perfect 3D-Printed Jewelry
- Common Challenges and Solutions
The Magic Behind 3D Printing
So, how does 3D printing work its magic, especially when it comes to making something as intricate as 3D printed jewelry? At its core, 3D printing is all about turning digital models into physical objects by layering materials. You start with a design on your computer, usually created with software like Tinkercad or Blender. This digital blueprint guides the 3D printer to craft your jewelry piece.
The real magic happens with the printer’s ability to meticulously lay down layers of material—be it plastic, resin, or even metal—to build up the final object. This process, known as additive manufacturing, is like creating a sculpture by adding one layer at a time. This way, you can achieve incredibly detailed and customized designs that traditional methods would struggle to replicate.
Most desktop 3D printers use a technique called Fused Deposition Modeling (FDM), which deposits melted plastic material to form each layer. Depending on your design's complexity, the printing process can take anywhere from a few minutes to several hours. If you've ever felt a surge of anticipation watching a polaroid picture develop, you'll know the excitement of seeing your 3D model slowly come to life.
To put its impact into perspective, let's look at a quick stat. In recent years, the market for 3D printed jewelry has grown by nearly 20% annually, showing how popular and innovative this trend has become.
While the technology can seem a bit overwhelming at first, part of the beauty is its accessibility. Many entry-level 3D printers are user-friendly and relatively affordable, making them a great option for hobbyists and budding jewelry designers. If you can dream it, chances are this technology can help you make it.
Materials You Need
So, you're pumped to make some bling with your trusty 3D printer. But what do you need to get started? Let's break it down.
First off, you'll need the right type of filament. The classic choices are PLA and ABS, which are popular because they're easy to work with and won't break the bank. PLA is eco-friendly and comes in loads of colors, perfect for those who want to keep things vibrant. ABS is a bit tougher, so it's great if durability is your game.
If you're ready to splurge or just want to go all out, there's resin printing. Resin printers, with their ability to capture fine details, can produce stunning 3D printed jewelry. They work with liquid resin that's cured using UV light. It's a bit messy, but the results can be totally worth it.
- PLA: Biodegradable and available in many colors. Best for beginners due to ease of use.
- ABS: More durable. Good for items that need extra strength.
- Resin: Offers high detail but requires post-processing to bring out the best shine.
And if you're dreaming of all-metal jewelry, there are options for that too. Some advanced 3D printers can work with metal filaments, but they often need specific conditions or extra equipment, so research is key.
Lastly, don’t forget your tools. A basic toolkit will include some tweezers, a cutting mat, and maybe a small file to smoothen any rough edges. With these essentials, you’re all set to bring your designs from screen to reality.

Getting Started with Your Designs
Diving into 3D printing for jewelry can be simple, even if you’re not a design guru. To kick things off, you'll want to get cozy with some design software. Think of programs like TinkerCAD or Fusion 360. They’re user-friendly and perfect for beginners. With a bit of practice, you’ll be making your 3D printed jewelry look pro-level in no time.
To start, sketch some ideas on paper. This old-school step helps sharpen your vision. Then, bring those sketches to life using your chosen software. Start with basic shapes, and as you get more comfortable, you can play around with more complex designs. The best part? You can personalize each piece, whether it's etching initials or creating abstract forms.
When you’re ready to print, choose the right settings on your 3D printer. Here’s a quick guide on what to consider:
- Layer Height: Opt for a smaller layer height for finer details.
- Printing Speed: A slower speed often results in a smoother finish, ideal for jewelry.
- Infill: Keep it at around 20% for strength without wasting material.
A handy tip? If you're unsure how a design will look, do a test print with a cheaper material like PLA.
Now, let's talk about 3D printing's unique advantages—like intricate lattice structures that are hard to achieve by hand. You can create lightweight pieces without sacrificing style. Plus, it's pretty magical to print something with your child’s name or even craft identical pieces of a set from a single design.
Tips for Perfect 3D-Printed Jewelry
Crafting fantastic jewelry with a 3D printer is part art, part science. But don't worry, it's easier than you think once you get going. Let’s dive into some practical tips to nail that perfect piece every time.
First things first, make sure your design is on point. Double-check your design's size and layer height settings before hitting print. This ensures your jewelry isn’t too bulky or too fragile.
- Test Prints: Always do a test print with cheaper materials before using more expensive ones. This helps spot any issues without wasting resources.
- Post-Processing: Smooth out any rough edges using sandpaper or a solvent if needed. A little polish can make your jewelry look professionally finished.
- Material Choice: Choose your materials wisely—PLA is great for beginners due to its ease of use, while ABS offers more strength for intricate designs.
- Use Supports: For complex or overhanging designs, supports will keep everything sturdy and in place.
The environment can also affect your prints. Ensure your workspace is consistent in temperature. Too cold or humid? Your layers might not stick together as well.
| Material | Benefits |
|---|---|
| PLA | Easy for beginners, environmentally friendly |
| ABS | More durable, good for detailed pieces |
| Metal Filament | Gives a metallic finish, requires more skill |
Finally, don’t skip over the settings in your slicer software. They’re crucial for quality prints. Tweak settings such as print speed and layer thickness. It takes a bit of experimenting, but this makes a huge difference in your final product.
There you go! With these tips in your back pocket, you're ready to tackle 3D printed jewelry like a pro. So, go ahead and let your creativity run wild!

Common Challenges and Solutions
So, you're all set up and ready to craft some stunning 3D printed jewelry. But as with all tech adventures, you might hit a few bumps along the way. Don't worry, it's all part of the process. Let's tackle some of the common challenges you might face and how to overcome them.
First up, printing errors. These can range from the design not sticking to the printer bed, to strange gaps in the final product. Often, these issues are solved by ensuring the printer is level and that your settings match the material you're using. Keeping the print bed clean can also make a world of difference.
Another common struggle is choosing the right material. With lots of options like PLA, ABS, and metal filaments, finding what works best for your designs can be tricky. PLA is usually beginner-friendly. It's easy to use, eco-friendly, and offers a smooth finish, making it a great choice for 3D printed jewelry. But if you're going for something more durable, you might want to experiment with tougher materials like ABS, especially for rings that might see a lot of wear.
Now, let's talk about design compatibility. Not all designs are 3D printer-friendly, and complex designs might need support structures during printing, which can be a bit of a pain to remove. Consider simplifying designs initially or using design software to check for compatibility.
"The key to successful 3D printing involves experimentation and patience," says Julia Adams, a well-known 3D printing expert. "Don't be afraid to tweak designs and settings. Each adjustment is a step closer to creating stunning pieces."
Finally, finishing touches. Once your piece is printed, it might need some refining. Sanding or polishing your jewelry can make it stand out even more. But be gentle—overdoing it can alter the shape or detail.
To make things a bit clearer, here's a handy table comparing typical materials and their properties:
| Material | Best For | Durability |
|---|---|---|
| PLA | Beginners, smooth finish items | Moderate |
| ABS | Durable pieces, wearables | High |
| Metal Filaments | Authentic metallic look | Very high |
So whether you're just starting out or refining your craft, remember that every challenge is an opportunity to learn. Happy printing!


